Hello again…it’s been a while. A long while. I’ve recently completed my master’s degree and had to set aside some of my jewelry making while I completed my program. But I’m back! Here’s a look at some of the recent earrings I have created. Thanks to all those who wrote in to ask where the blog had gone. I missed you, too.
In a glass bubble


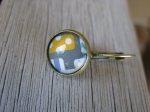
I’ve actually been wanting to break out of my beaded earring routine for a while and try something new. But I knew I wanted to stick with earrings. So when I found the parts for these glass bubble earrings, I could hardly wait for them to arrive. I had already punched out a bunch of patterns and images by the time they had arrived.
I like the result and I want to try a few more using fabric and perhaps paint to give them more dimension. Hope you like them too! As usual, they are available on our Etsy page.
Creative rush
I am definitely the type of artisan who saves up creative energy for weeks at a time and then spends a few days focused on my work. That might be why I’ve made 10 pairs of earrings in the past 24 hours.
This batch includes lots of cobalt blue and salmon pink. I’m not sure what to read into that, so I’m just going to go with it. I’ve also been feeling drawn to red and green, which is probably a sign of the coming holidays.

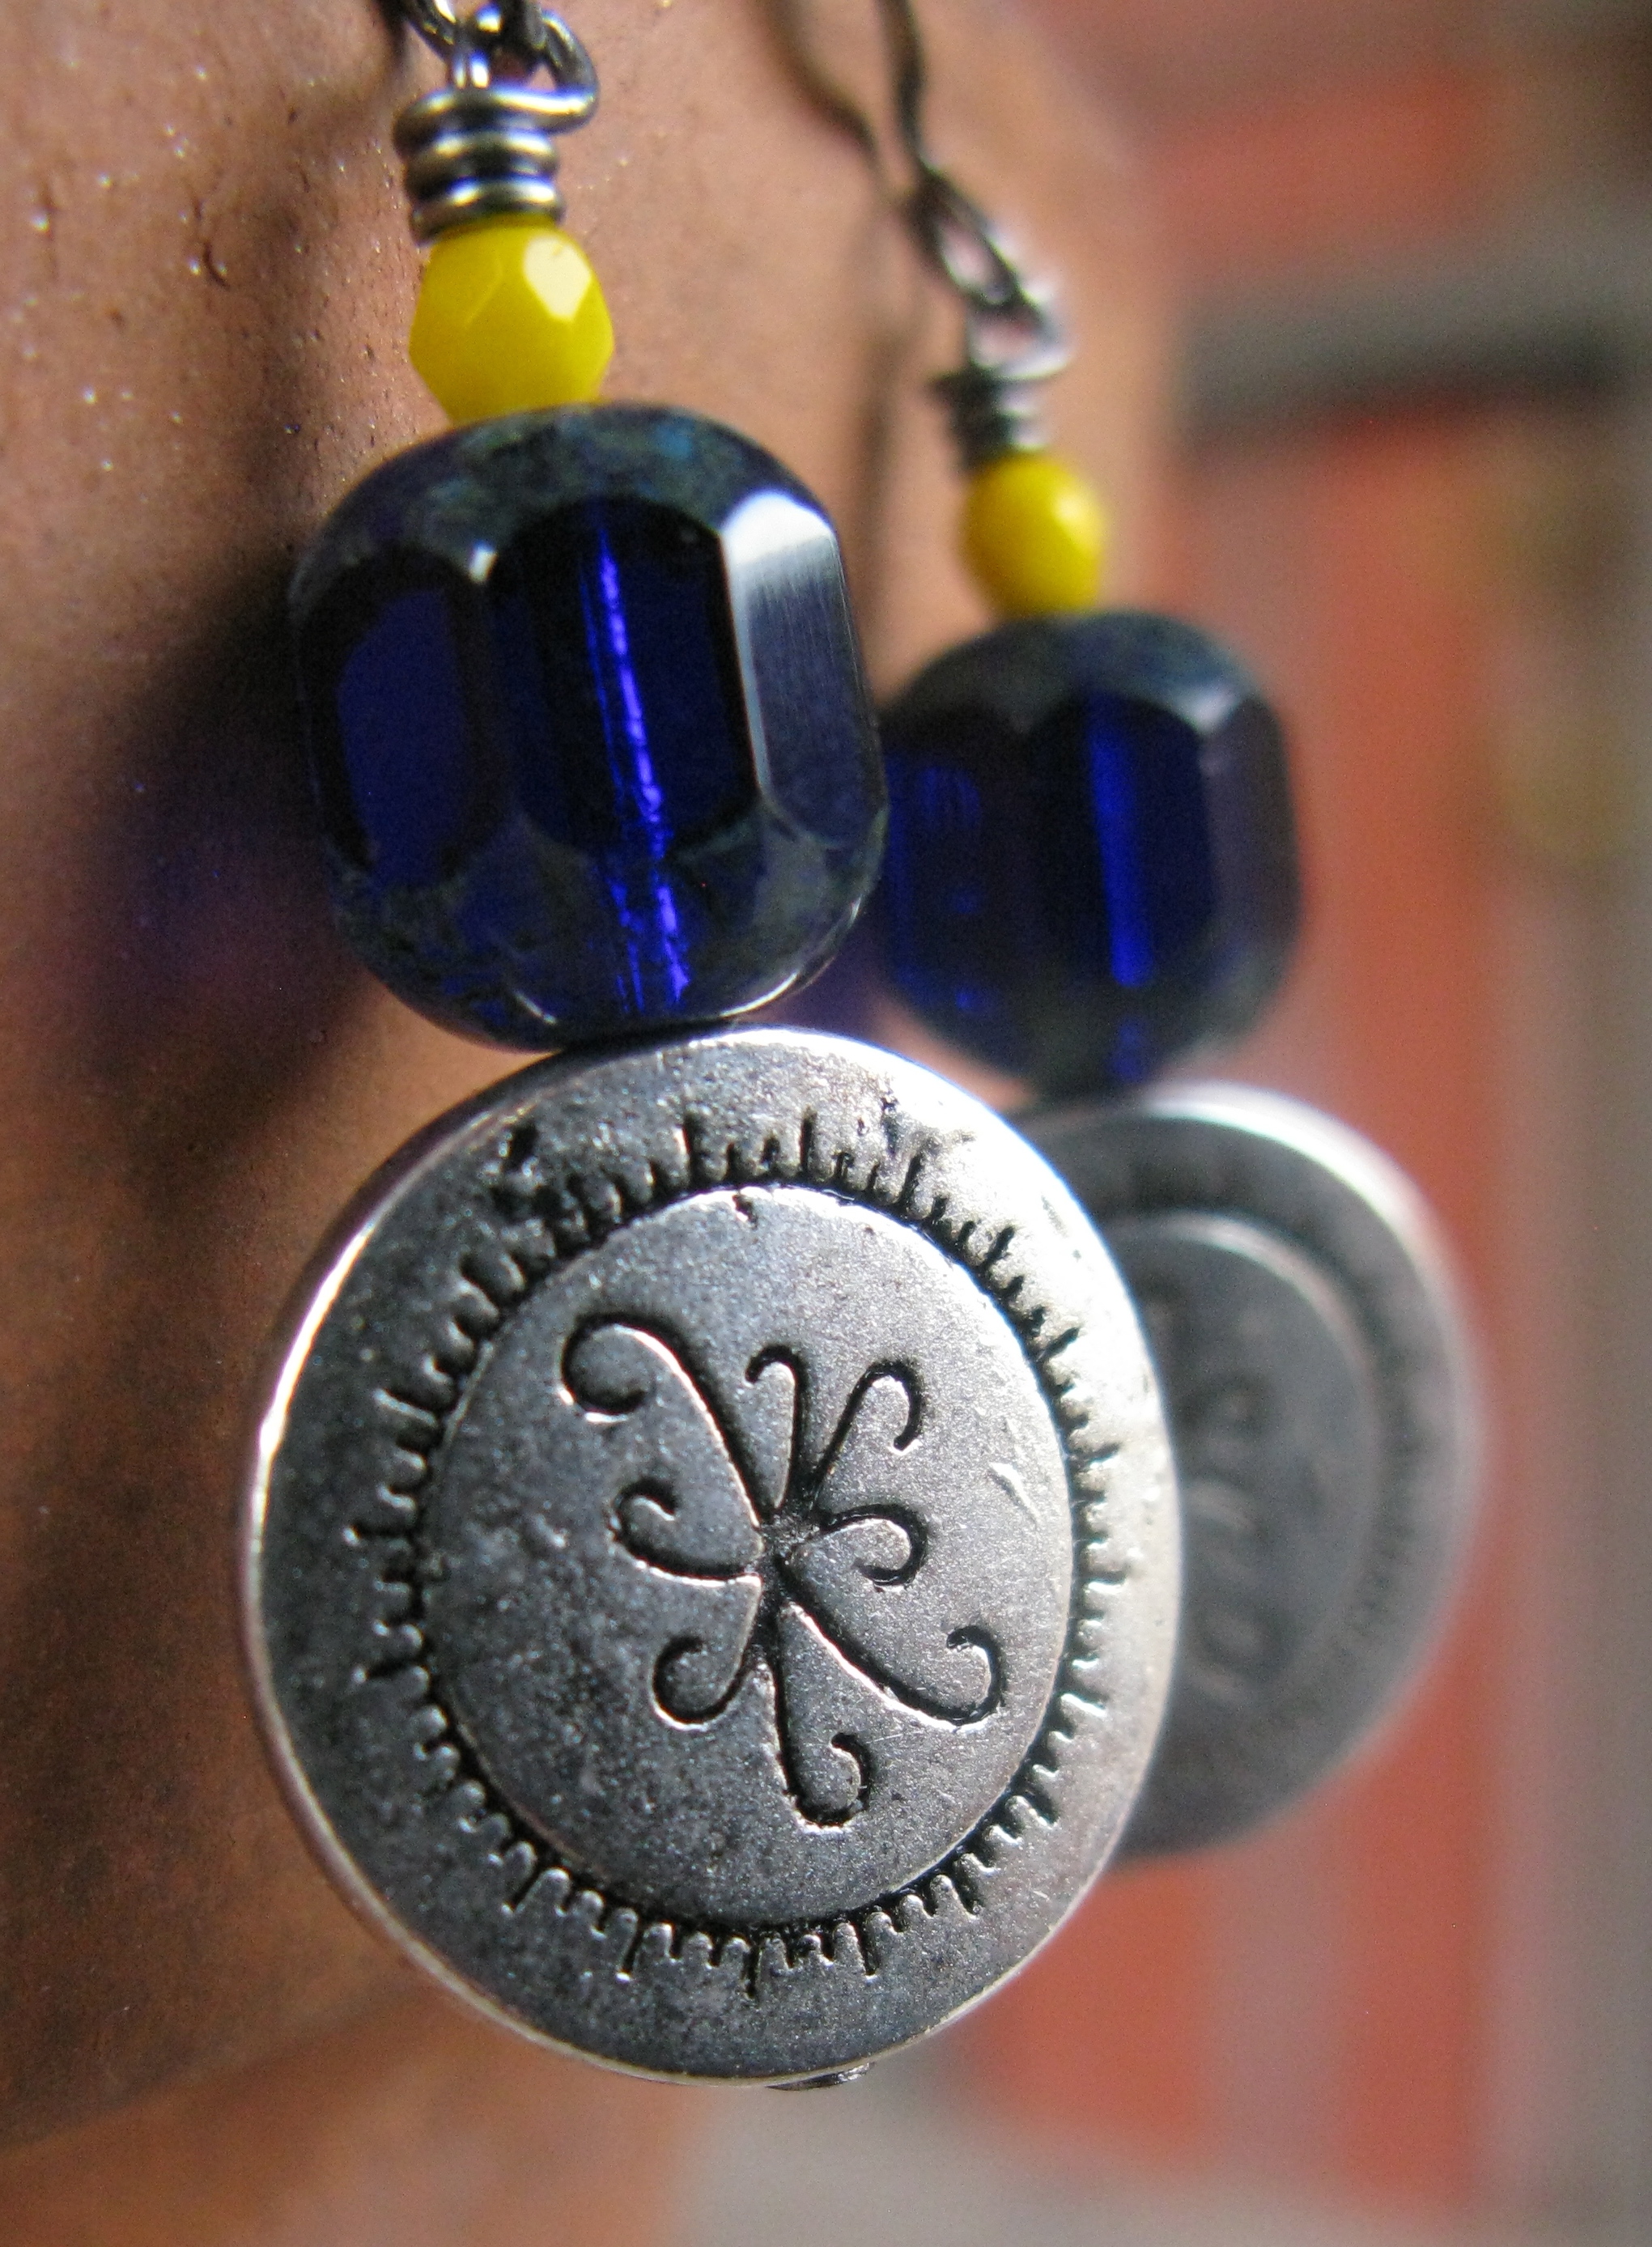
 Hope you enjoy!
Behind the scenes: how I take my photos
People often ask me about the photos I take for my jewelry website on Etsy. Some friends who want to have Etsy shops worry that the photos are too much work. While pretty pics can be a bit tricky, I don’t think they take up too much time or are too difficult, once you find what works. I don’t think mine are the best out there by any means, but I am happy with them and I feel like they show off my work in a good way. Here’s an example of one I like. It’s simple, straight forward and didn’t take long.

The main thing people want to know is about my photo studio. I don’t have one.
Here’s a photo of where I shoot most of my pics.

Yes, that’s a table outside and a bunch of pots.
I shoot almost all my earrings hanging from one of the pots you see. After experimenting by hanging the earrings from different things, photographing them on the ground, etc, I found I like the pots best. They are easy and the light is usually good enough on all sides. In a perfect world, I’d toss in some lighting or at least a light reflector card to even it out a little. To help, I only take the photos in the afternoon to avoid harsh lighting. Again, they aren’t perfect, but they get the job done.
I also experiment with different backgrounds. Almost all my backgrounds look like this:

Today I decided to try this. It’s a plastic bowl. When cropped in close, you can’t tell it’s a bowl. I’m not sure if I like the bowl yet, but I needed something to make the browns in this pair pop out. I might try something else later. 


I have also tried close ups with the earrings laying flat. I do this mostly to avoid problems focusing, because when it’s windy out, the earrings don’t hold still. I don’t like it as much as the hanging earrings, however.
Here is an example:

The other day I also tried this:

I wasn’t too happy with it, but I thought it might have potential for another pair.
The other thing I tell people is to not be afraid to experiment.
I needed a good photo of this bracelet I made. Hanging it didn’t work, so I took the saucer from underneath my pot, turned it over, and rethought what I wanted to do.

A shot from above wasn’t going to work. So I changed angles and took this close up, which I like better than any overall shot.

I don’t use a fancy camera, just an old Canon G-9, which has a macro function. The macro makes all the difference. I use an aperture with a large depth of field, like f 2.8. That gives the photos the ability to have one earring in the foreground in sharp focus while the background blurs out, like this:

That’s it for today!
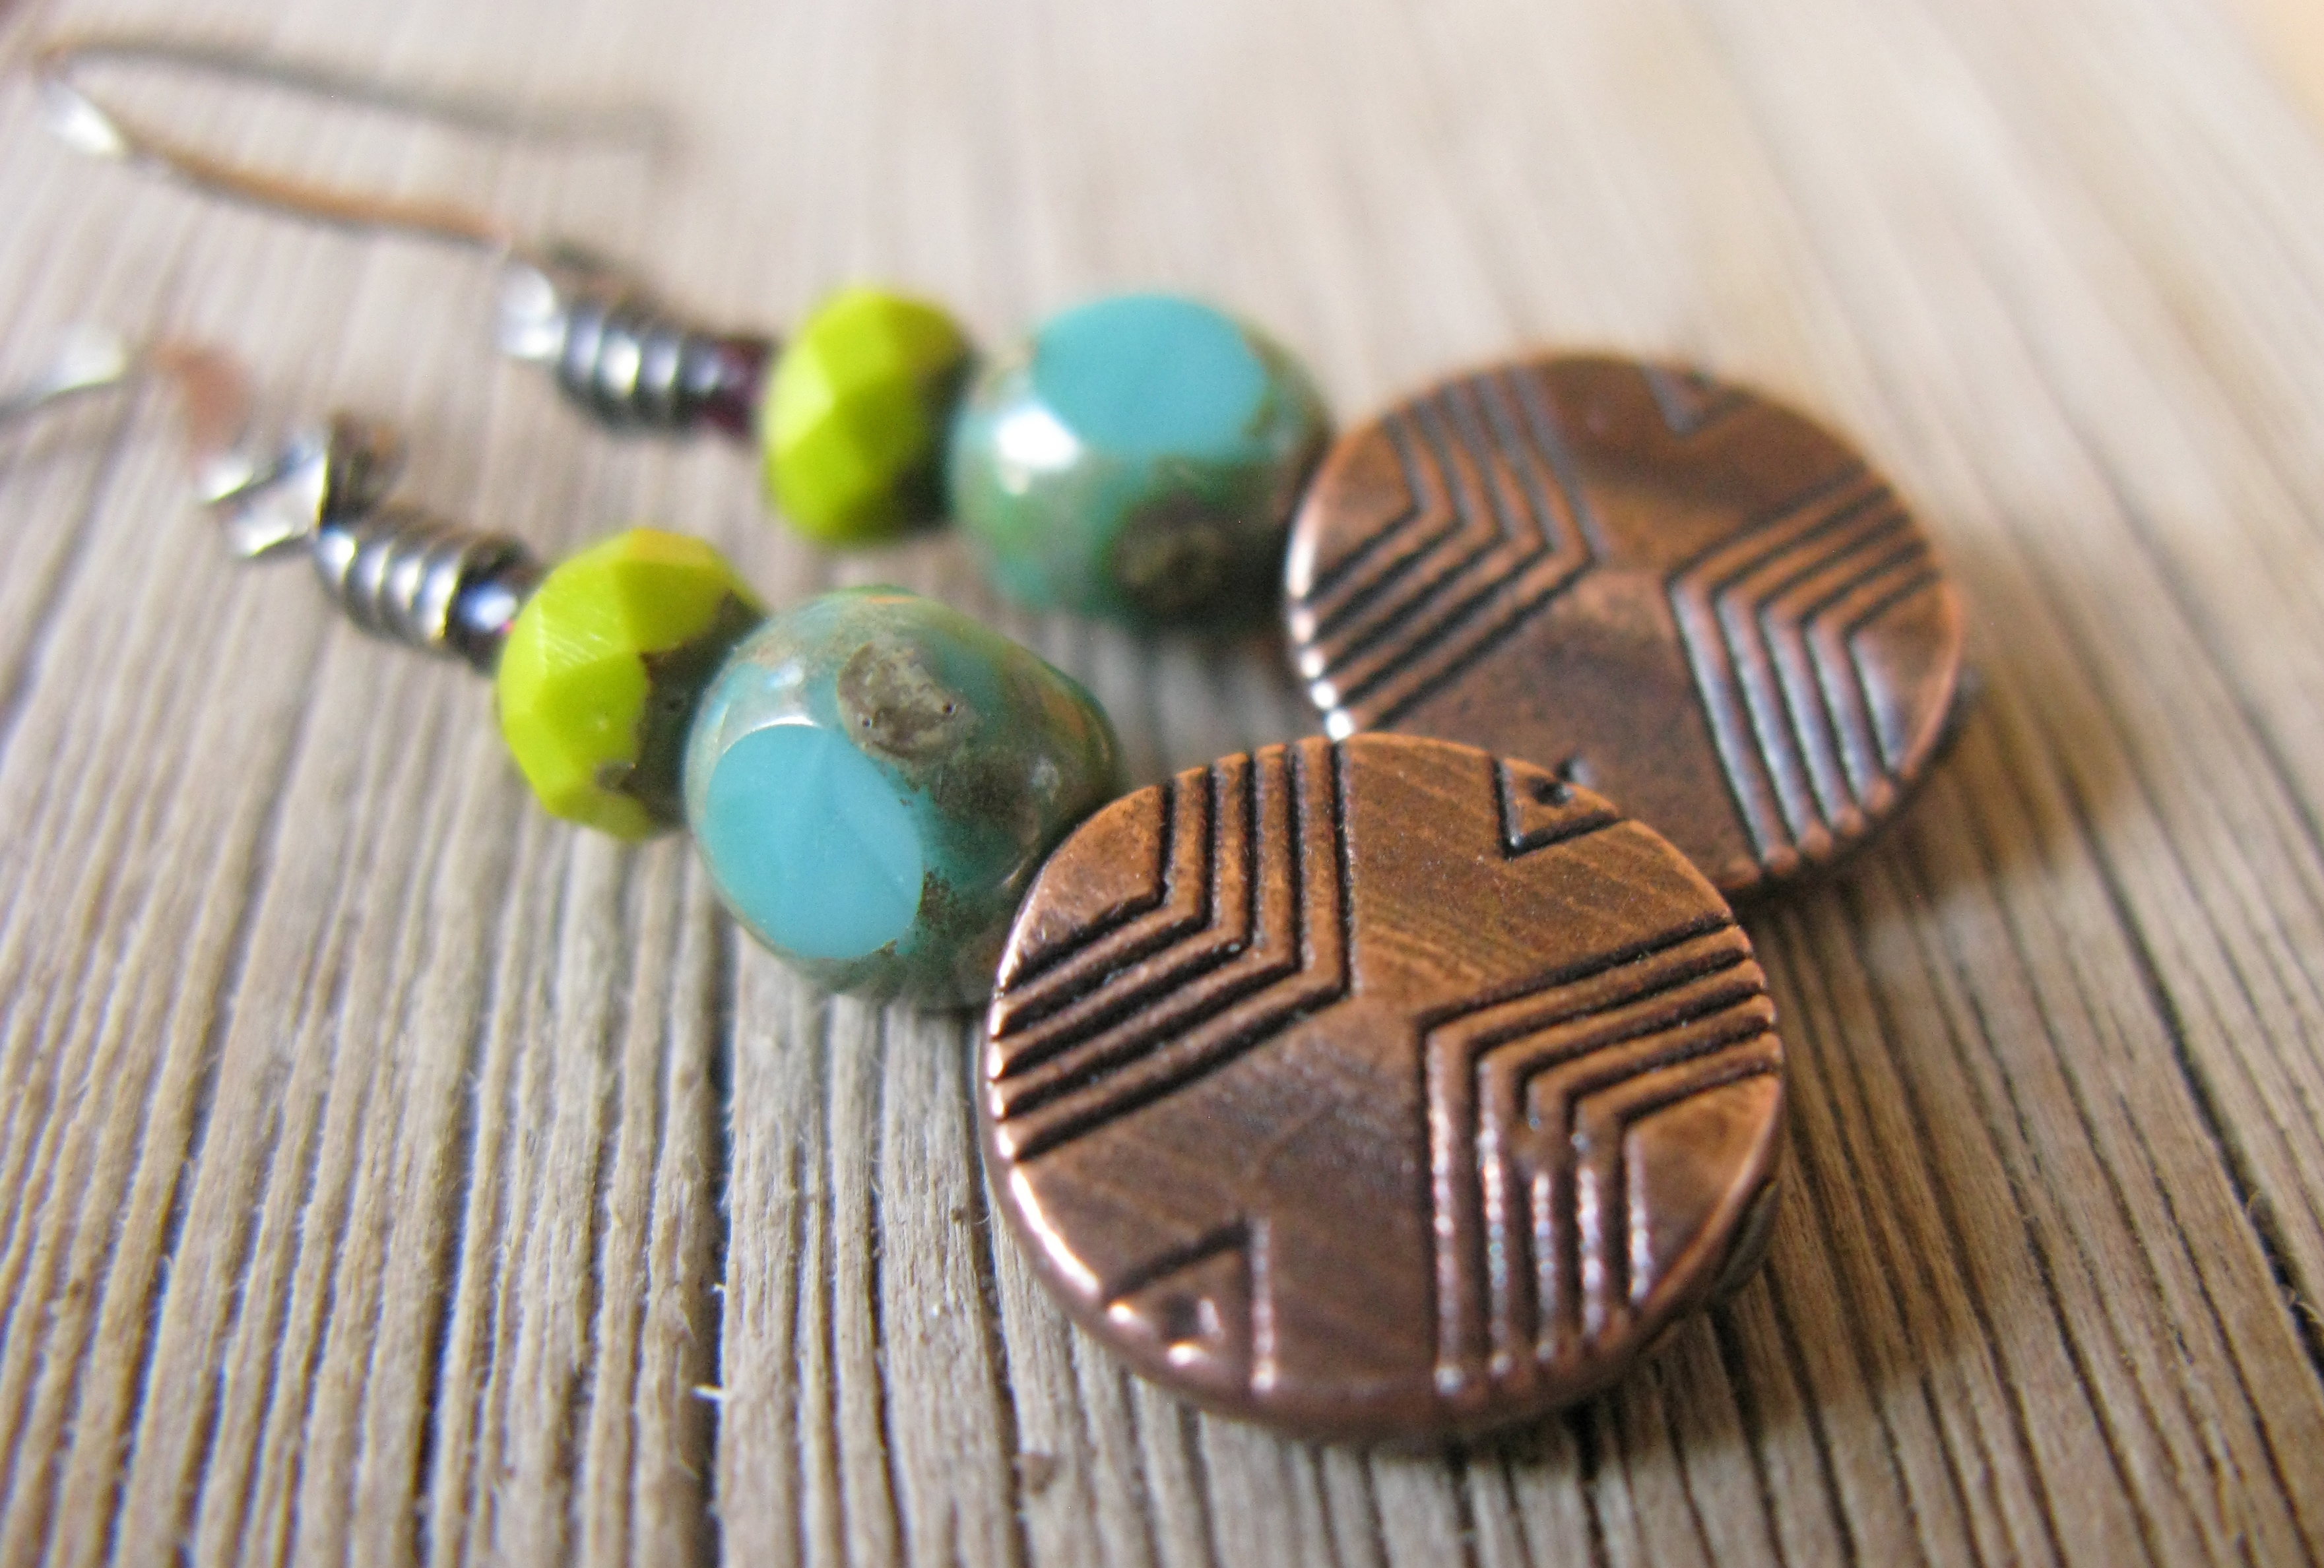
Busy spring
I’ve been so busy creating in my studio for the past few weeks, I’ve forgotten to blog!
Here are some of my latest creations. I am feeling really drawn to blues, oranges and pastels, which is a major shift from my greens, browns and purples.
Red and green (and yellow and blue and purple, too)
I start to think a lot about two colors this time of year: red and green. And I don’t mean the chile that we eat on everything around here.
As I’ve gotten more into browsing other people’s art this year, I’ve noticed so many creative ways to use traditional holiday colors. But I started to wonder, are there “holiday colors?” Is it just green and red? Or is it blue and red and yellow and red and green and blue? Is black a holiday color? What about white? Here’s my take, from my recent creations. Some of the pieces are still available in my Etsy shop.
Meeting other New Mexico artists
One of the neatest things that has happened since starting my shop back in July has been meeting other artists. Even more fun has been seeing all the talent around me in New Mexico. Here is a recent collection of local work that was posted on Etsy to showcase the work of New Mexicans. Enjoy!
 Vintage Upcycled Postage Sta… $3.00
|
 Rose Butter Bar $6.50
|
 Red Maple Fall Hand Painted … $79.99
|
 SALE Minnie Mouse Tea Time N… $20.00
|
 Wine rack made from a melted… $25.00
|
 Sunset Landscape $100.00
|
 Orange marble beadwoven brac… $15.00
|
 Bird Art. Watercolor. Shadow… $38.00
|
 Who’s The Fairest Mirror… $45.00
|
 Yucca in the Desert – Free S… $70.00
|
 Marilyn Monroe Novena Prayer… $22.00
|
 OOAK Poseable Sculpture Melv… $360.00
|
 Stairway Print $20.00
|
 Christmas Earrings, Christma… $19.50
|
 Padded Heart Hair Clip $2.00
|
 Retro Style Fashion Model Ma… $5.00
|
The art of improving
I’ve been going back through some of my older creations and thinking about how to improve them. That means looking at how well the wire is wrapped around itself at the top, as well as whether I have the best findings (metal parts) for the piece. I wanted to share an example of one pair I redid completely.
I call these my southwest diva pair. Back in July, I made them like this:

Last week, I redid them, using gun metal plated brass instead of silver plated. I love the difference! I think the darker metal gives the earrings a whole new feel. I also concentrated more on the way the wire was wrapped, hoping for a tighter look. Although it took some time, I really enjoyed remaking them, and hope you like them better as well. (I wish the photos were exactly the same, but we haven’t had time to set up the studio again like we did for the first one.)

New season, new styles
As summer fades away and fall inches in, I’ve been trying new styles and new materials. I’m really into using gun metal plated brass for the earring components like the hooks and the wrapped metal you see just above the top red bead in the photo below. I love its dark, smoky look. I can’t quite put my finger on it, but it really adds a new feel to my pieces. I think it ages them, in a good way.

I’ve also tried a few of these super dangly earrings. I’m not actually sure quite what to call them, which makes it tricky to tag them in my Etsy shop. They are almost what are called chandelier earrings, but not quite. Anyway, I like them and need to look for more beads from which I can hang new color combinations. This pair below was my first try in this new style. I also made this pair, using moonstone.

I also tried one pair using wire as the component that hangs from the earring hook instead of head pins. They don’t look too different, but can be much longer than the standard two-inch head pins, and they are lighter and more flexible. I also don’t usually use beads like the one at the bottom of this pair, but found two laying around and decided to upcycle them into something new.

